How to Install the Giò Glass Balustrade Step by Step
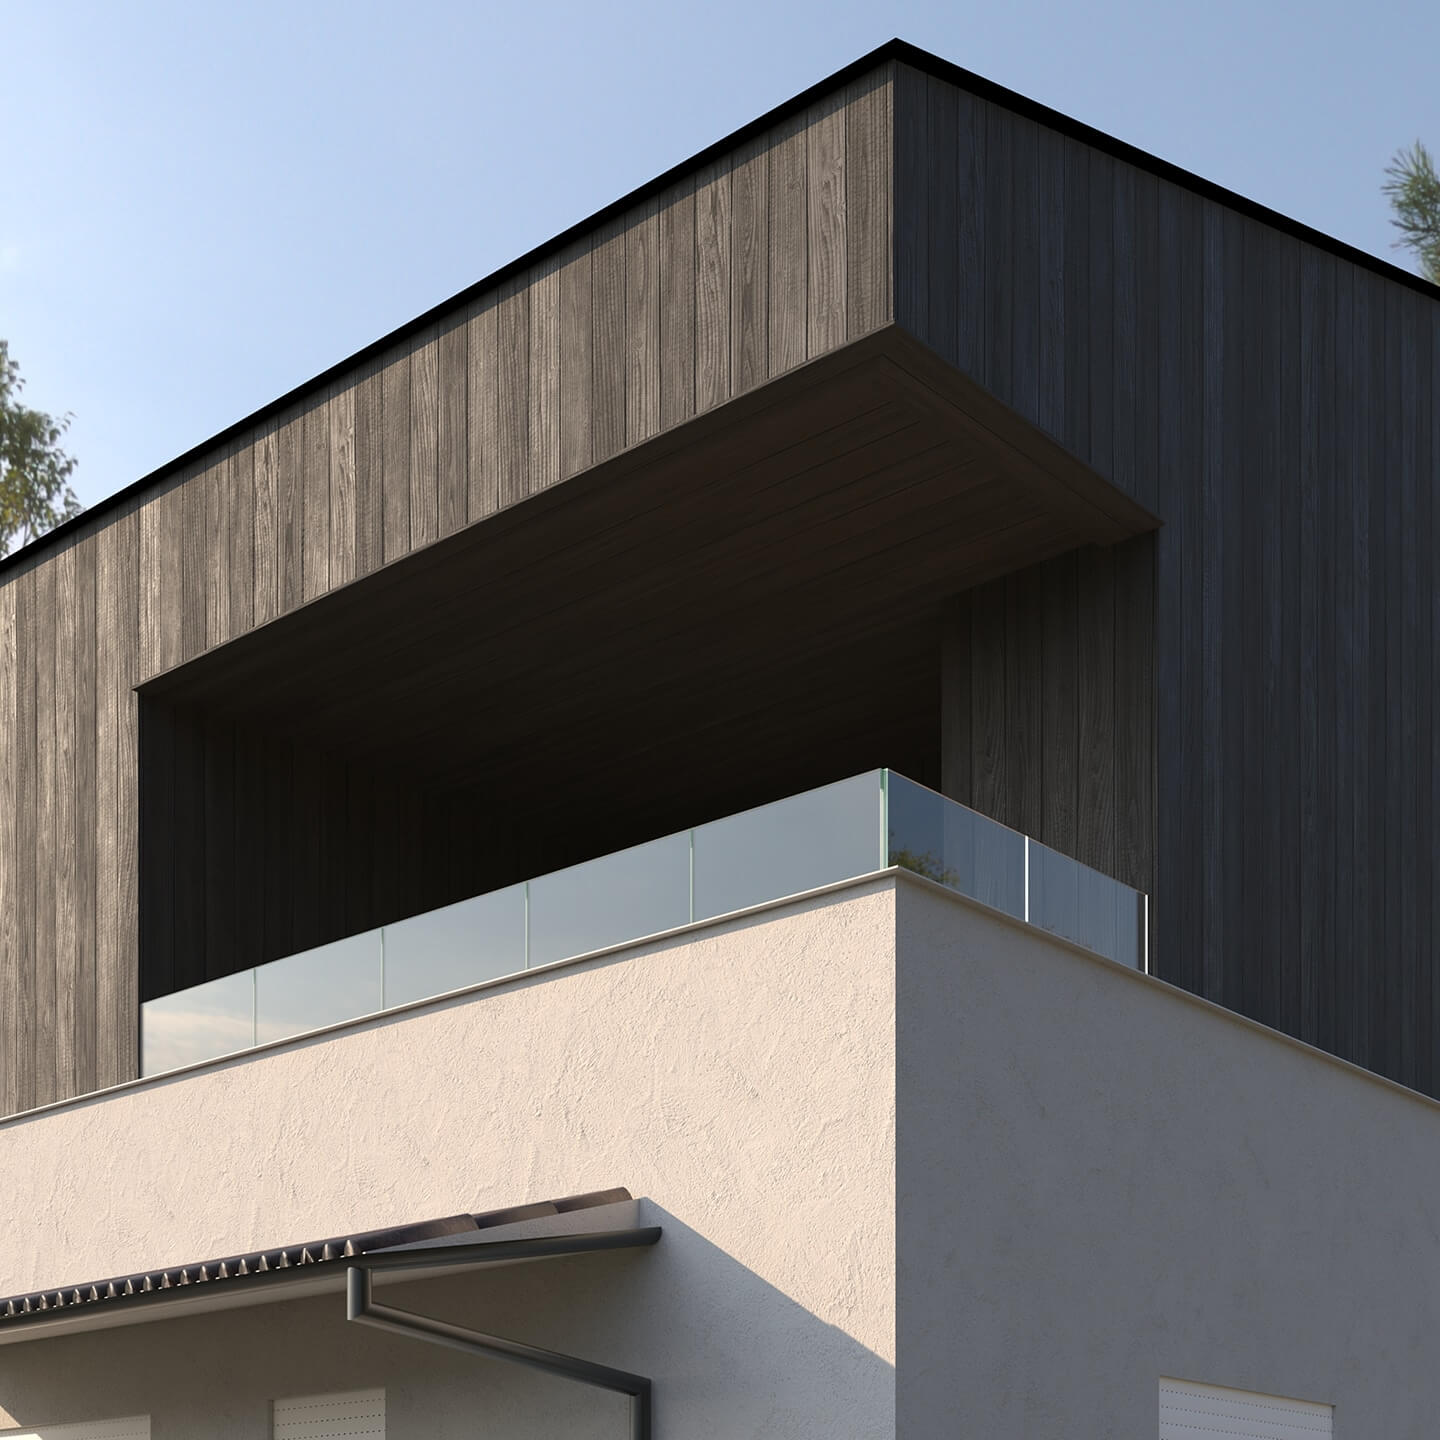
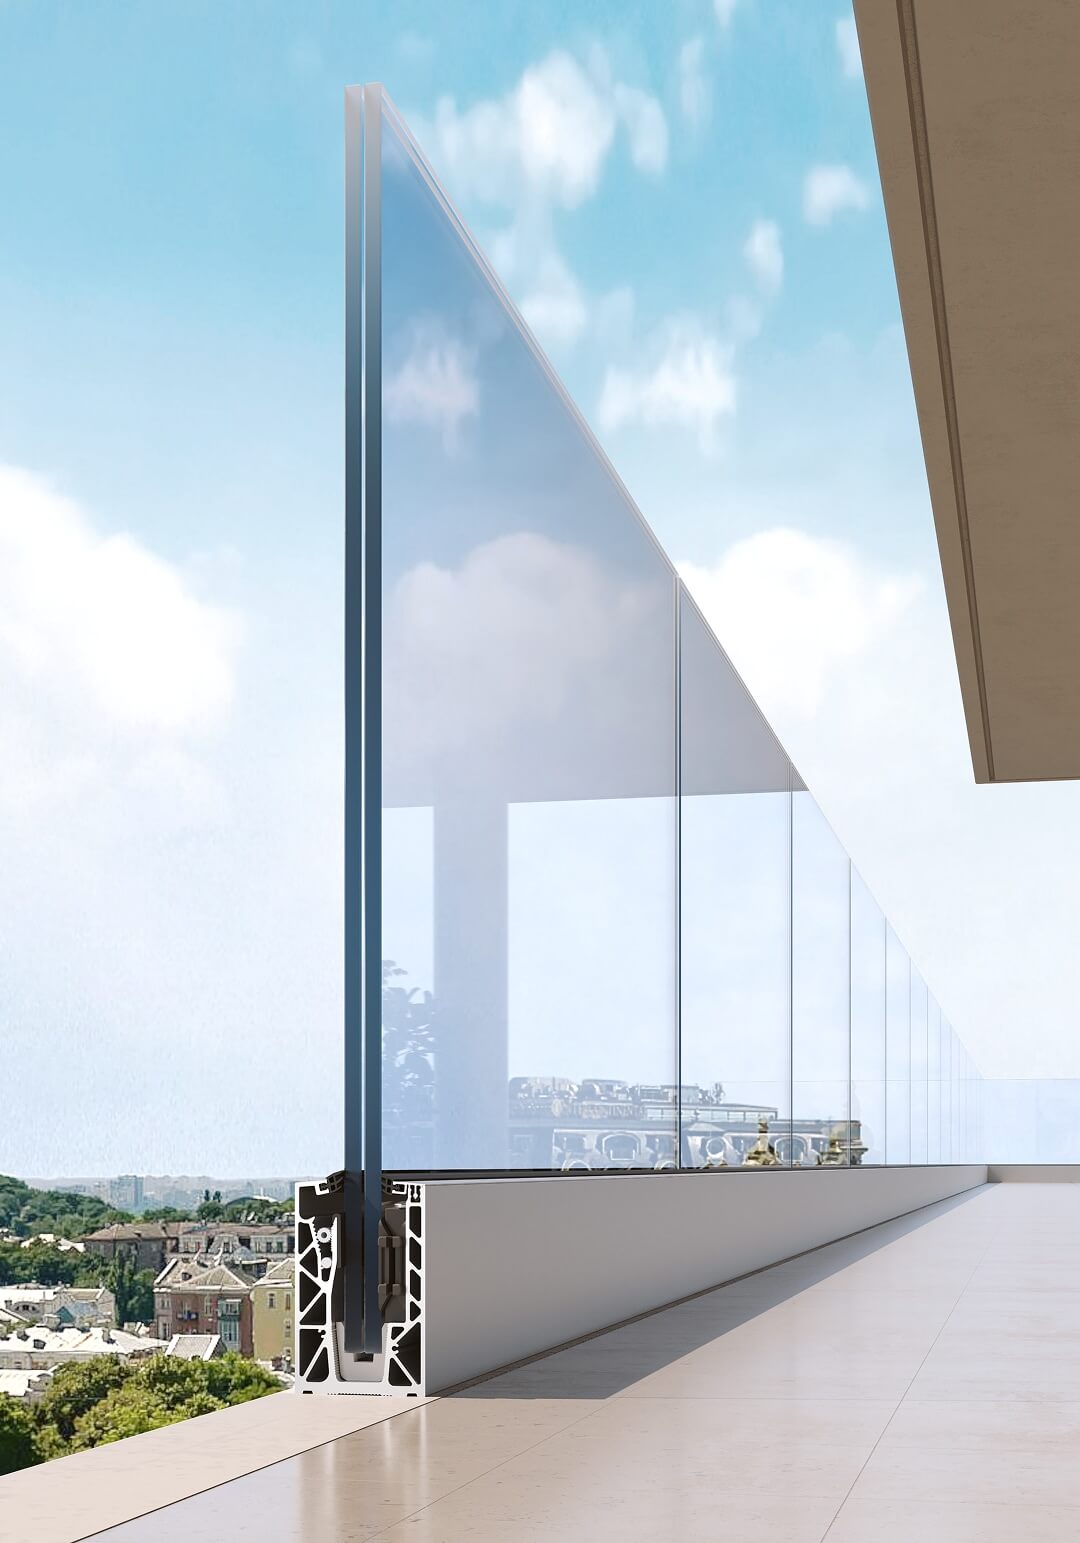
The Giò balustrade by Metalglas Bonomi is a glass railing system with a profile fixed on the slab, on the slab edge, or on a perimeter low wall. Its key strength is the installation method: inserting, adjusting and securing the glass can be carried out even without scaffolding. For installers this means fewer site tools and faster times; for designers it means a clean glass parapet with no visual clutter.
This guide walks you through the step-by-step assembly sequence and the components you need to know: gaskets, Magic Power system rods, U-shaped supports, wedges, counter-wedges and Jollypack.
What you need before you start
- Glass support gasket
- Magic Power system rods
- Lower U-shaped glass supports
- Wedges and counter-wedges
- Jollypack
- Clips and upper cover strip
- Glass panels
- Spirit level and clamping tools
Step 1: Fix the profile to the slab
The first step is fixing the aluminium profile to the slab. The profile is provided with fixing holes.
Step 2: Insert the glass support gasket
Insert the glass support gasket into the Giò lip of the profile; this will receive the glass pane.
Step 3: Position the rods
Place the system rods in their initial position. These elements accompany the installation through to the final locking of the glass.
Step 4: Insert the lower U-shaped supports
Insert the lower U-shaped glass supports on which the pane will rest.
Step 5: Position the glass
Lower the glass pane into the profile onto the U-supports.
Step 6: Insert the wedges
With the glass in place, insert the wedges that lock the base of the pane.
Step 7: Insert the Jollypack and position the glass
Insert the Jollypack units and act on the central screw until the glass is correctly positioned. In the video the check is performed with a spirit level to verify the verticality of the pane.
Step 8: Move the upper rod
Move the knurled upper rod into its final position.
Step 9: Insert the counter-wedges
Insert the counter-wedges for definitive locking of the glass.
Step 10: Secure the Jollypack
Secure the Jollypack units by tightening the remaining screws without applying extra force.
Step 11: Fit the clips and insert the cover strip
Finally, apply the clips to the cover strip and insert the strip; it covers the housing channel and completes the balustrade.
Maintenance without scaffolding
Maintenance is also possible without scaffolding or mechanical equipment: no external access is required to work on the glass. All operations are carried out from the terrace side – a concrete advantage for multi-storey buildings.
The advantages in brief
For glaziers and installers
- Glass installation, adjustment and fixing without scaffolding
- Precision adjustment with Jollypack, wedges and counter-wedges
- Maintenance without external access
- Clear assembly sequence in just a few steps
For architects and designers
- Continuous glass parapet with profile and cover strip on the slab edge
- Clean appearance that keeps the glass and the view in the foreground
- Solution suitable for multi-storey residential buildings
Frequently asked questions
Is scaffolding required to install the Giò balustrade?
No: insertion, adjustment and fixing of the glass can be performed even without scaffolding.
How is the glass adjusted?
With the central screw of the Jollypack, checking with a spirit level, followed by fine adjustment.
What are wedges and counter-wedges?
Elements that hold the glass in the profile: the counter-wedges provide the definitive lock.
Does maintenance require external access?
No, scaffolding or mechanical equipment is not needed.
What glass thickness is used and what are the load capacities and certifications?
In the floor-mounted or slab-edge versions the glass is 8+8 and 10+10. In the version above a low wall it is 8+8. The products are certified in classes 1 and 2.
Request the catalogue and technical support
Metalglas Bonomi makes the Balcony catalogue and dedicated support available to glaziers, window installers and designers.